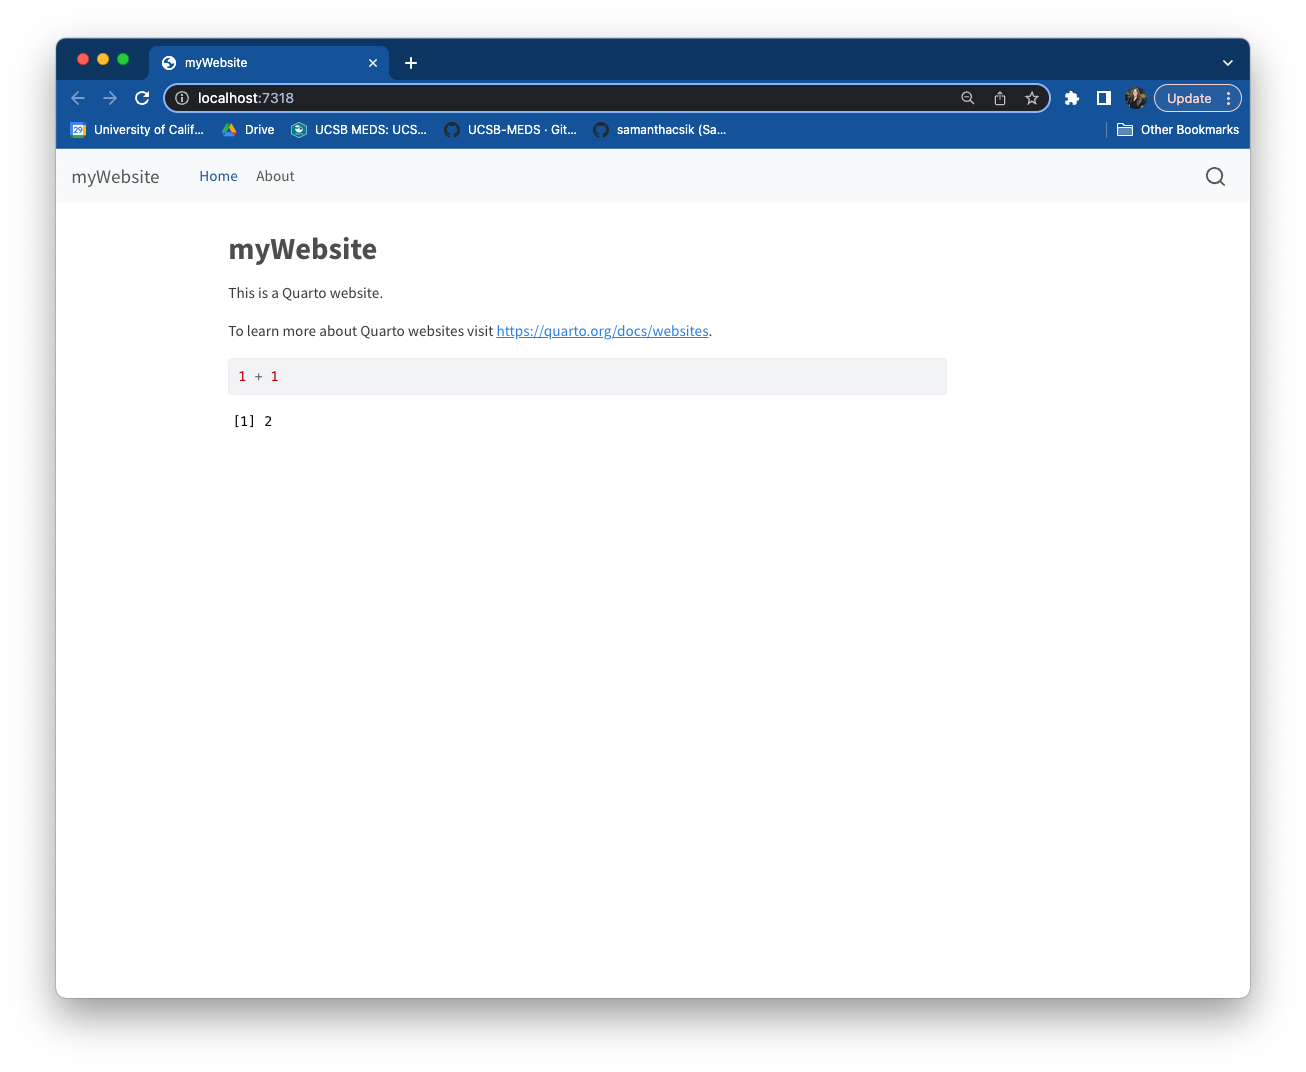
The good news: you can add a blog to your existing Quarto website!
What you need to add a blog
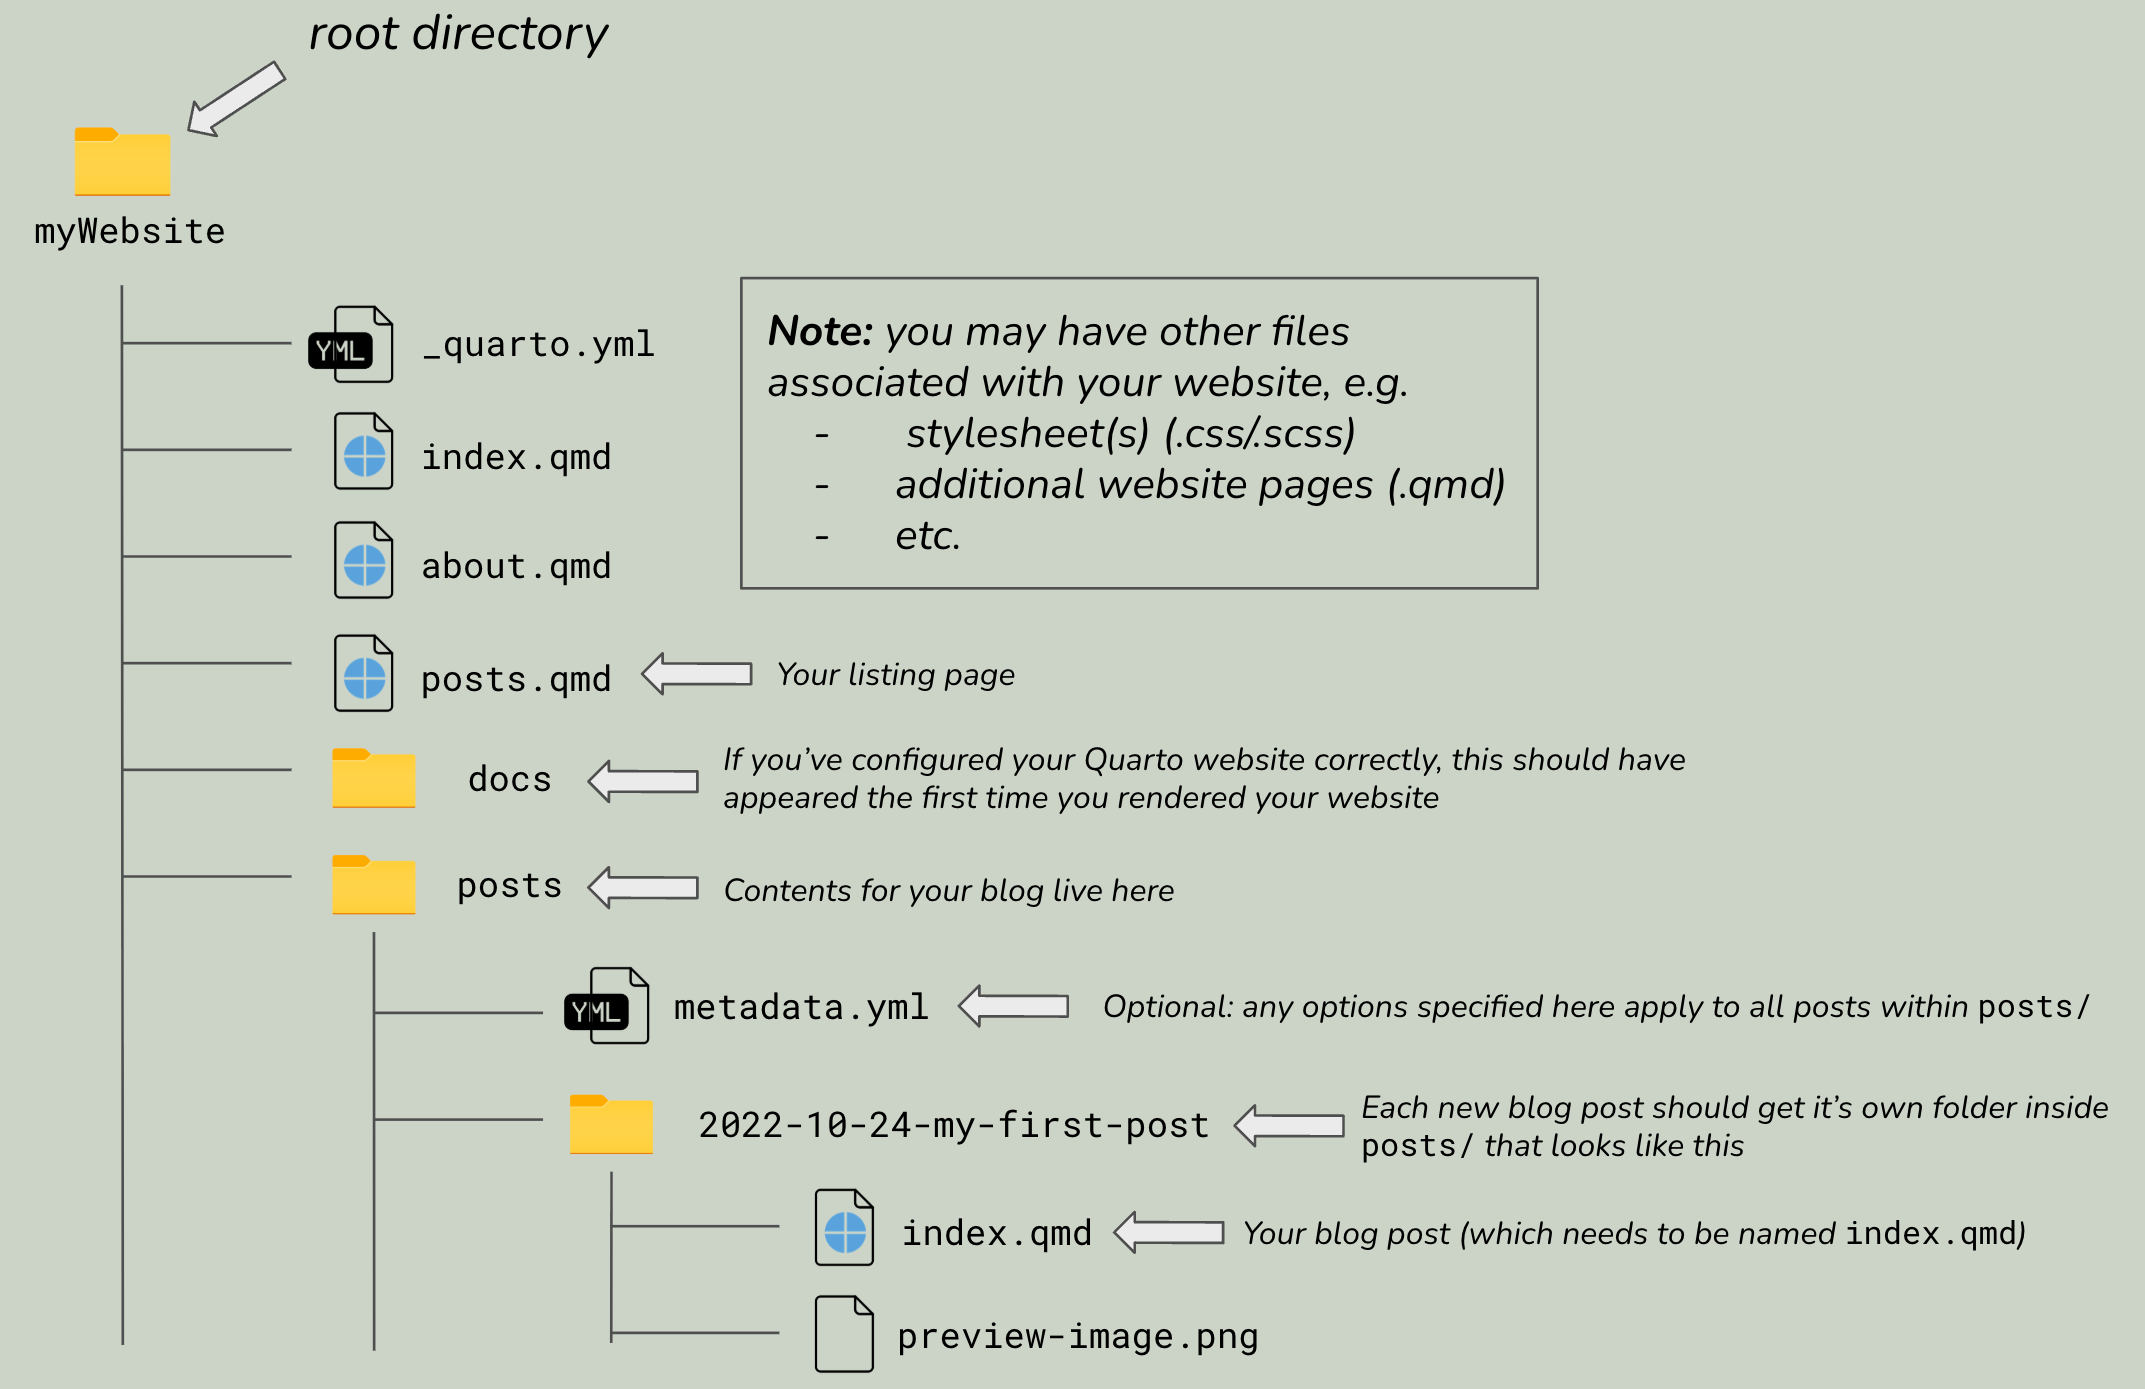
A folder to hold your blog posts
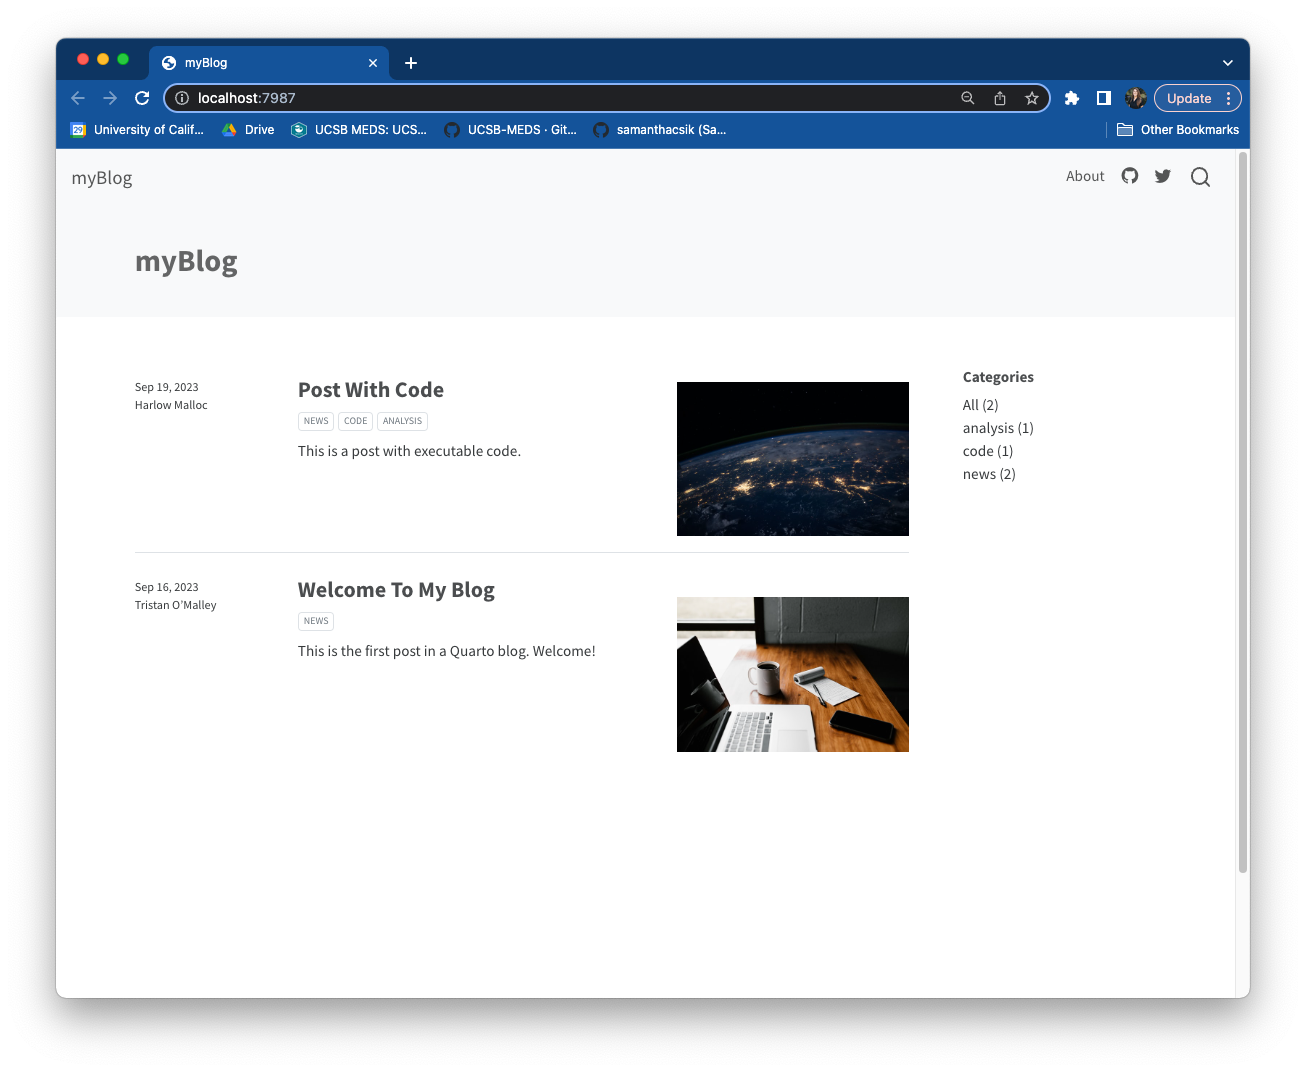
A listing page that displays all blog posts
Actual blog post content
Part I
Setting up your blog’s structure
Step 1: Create a posts/ folder
Create a posts/ folder in your root directory:
Positron:
Hover over your repo name in the Explorer pane > click “New Folder…” > type posts > press Enter
RStudio:
In the Files pane, click “New Folder” > type posts > click OK
Step 2: (Optional) Add _metadata.yml
A _metadata.yml file inside posts/ applies settings to all posts automatically
posts/_metadata.yml
# re-render posts only when source changes ----freeze: auto# banner style title blocks ----title-block-banner:true
freeze: auto — only re-renders posts when source files change (great for computationally heavy content)
title-block-banner: true — creates a banner-style title block at the top of each post
Step 3: Create a listing page
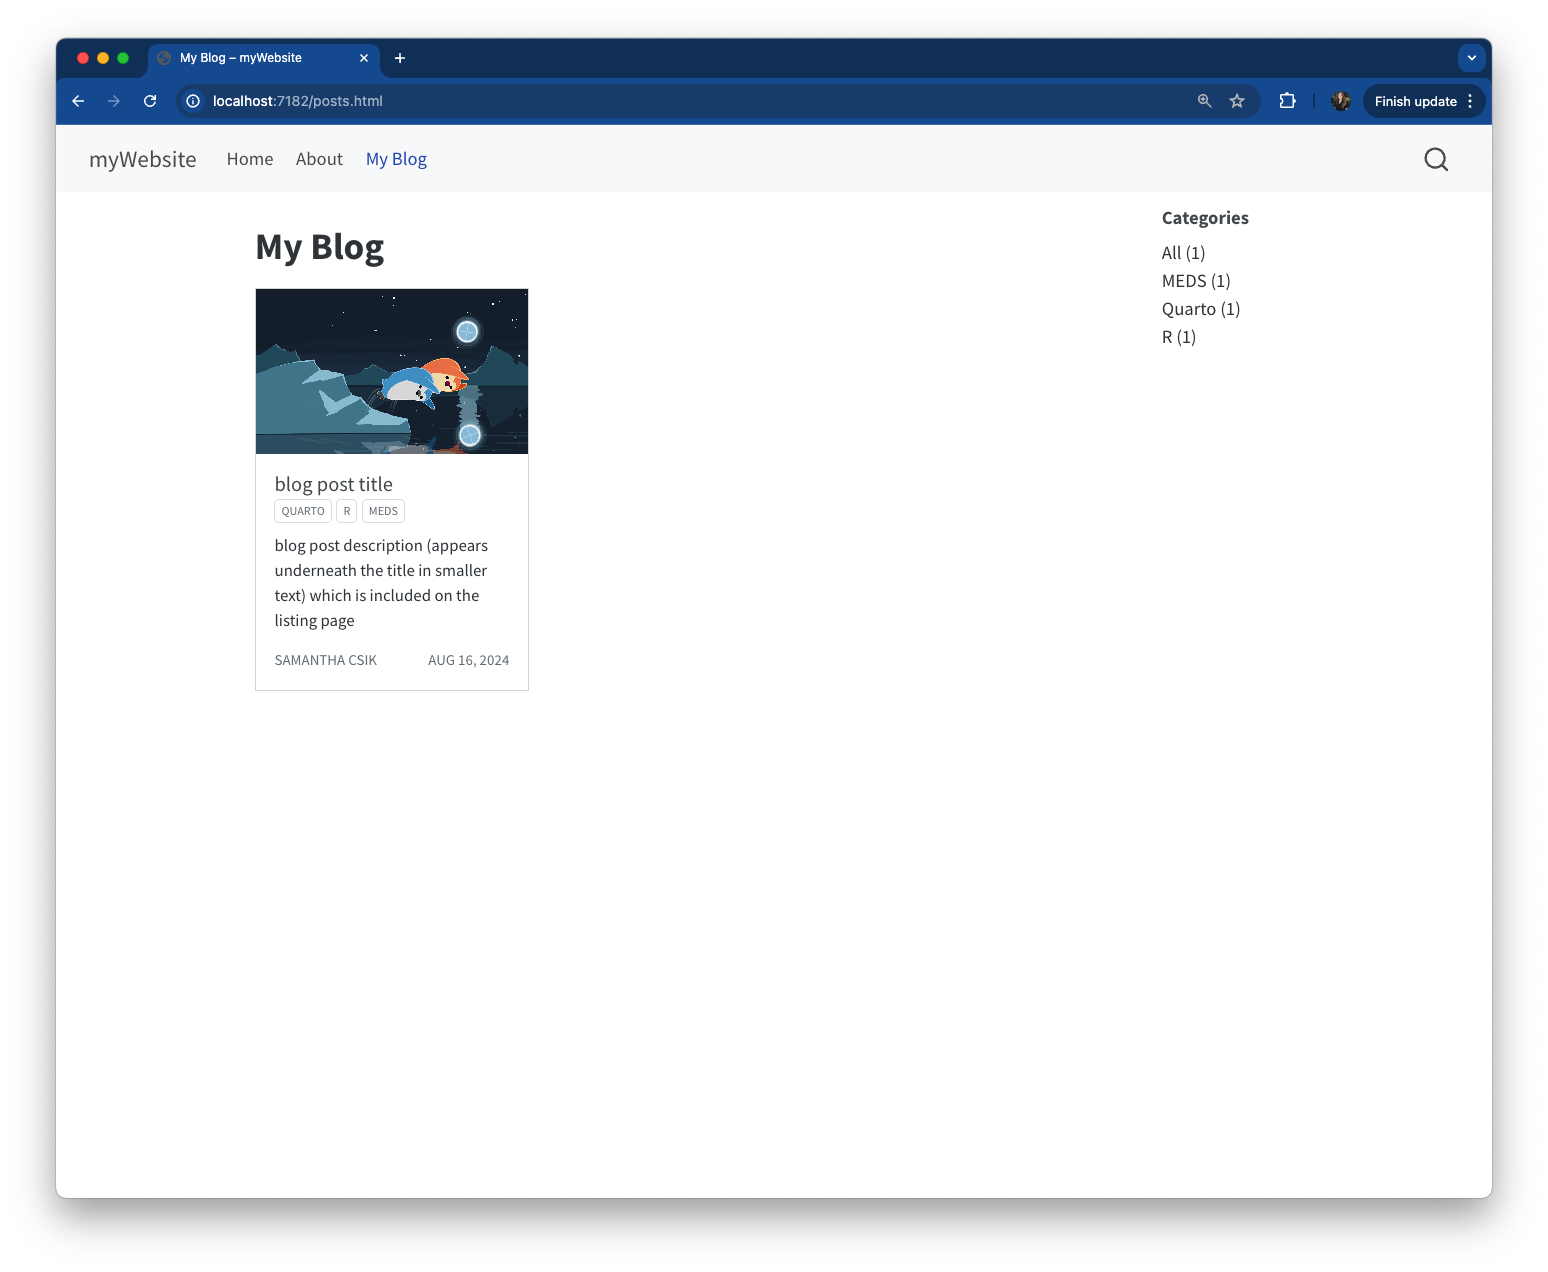
A listing page auto-generates content from your blog posts (titles, dates, categories, preview images)
Create posts.qmd in your root directory with minimal content to start:
posts.qmd
---title:"My Blog"---
Positron:Cmd/Ctrl + Shift + P > “Quarto: New Document” > save as posts.qmd in root directory
RStudio:File > New File > Quarto Document… > save as posts.qmd
Step 4: Configure your listing page
Add a listing field to your posts.qmd YAML:
posts.qmd
---title:"My Blog"listing:contents: posts # must match your folder name from Step 1type: grid # options: default, grid, or tablesort:"date desc" # newest posts firstcategories:true # enables category filtering---
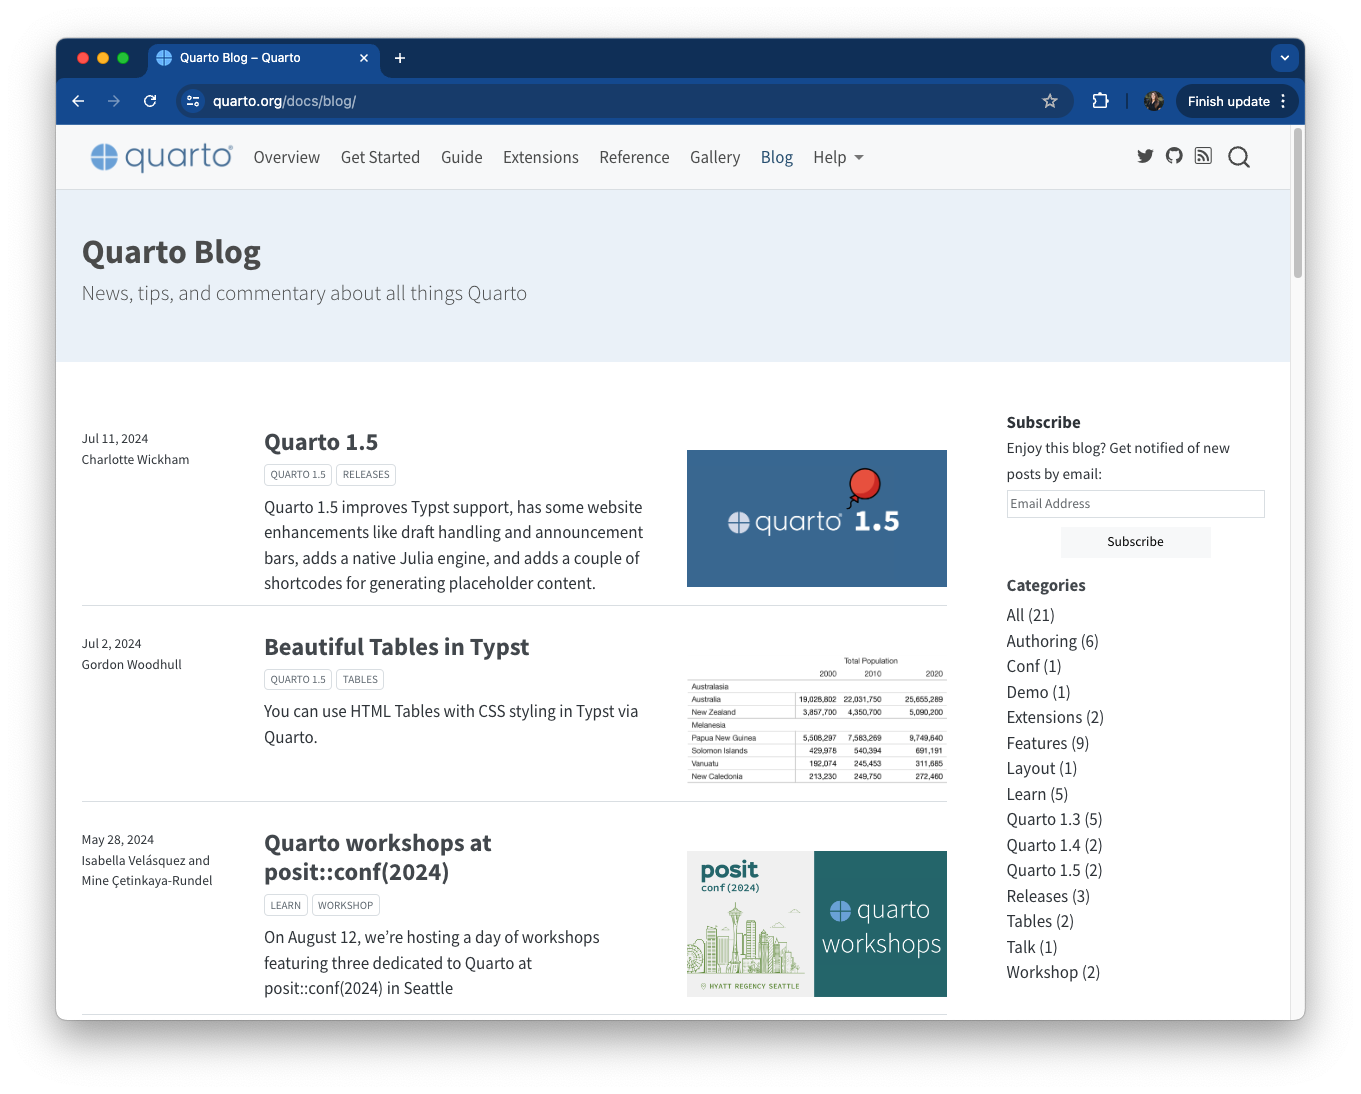
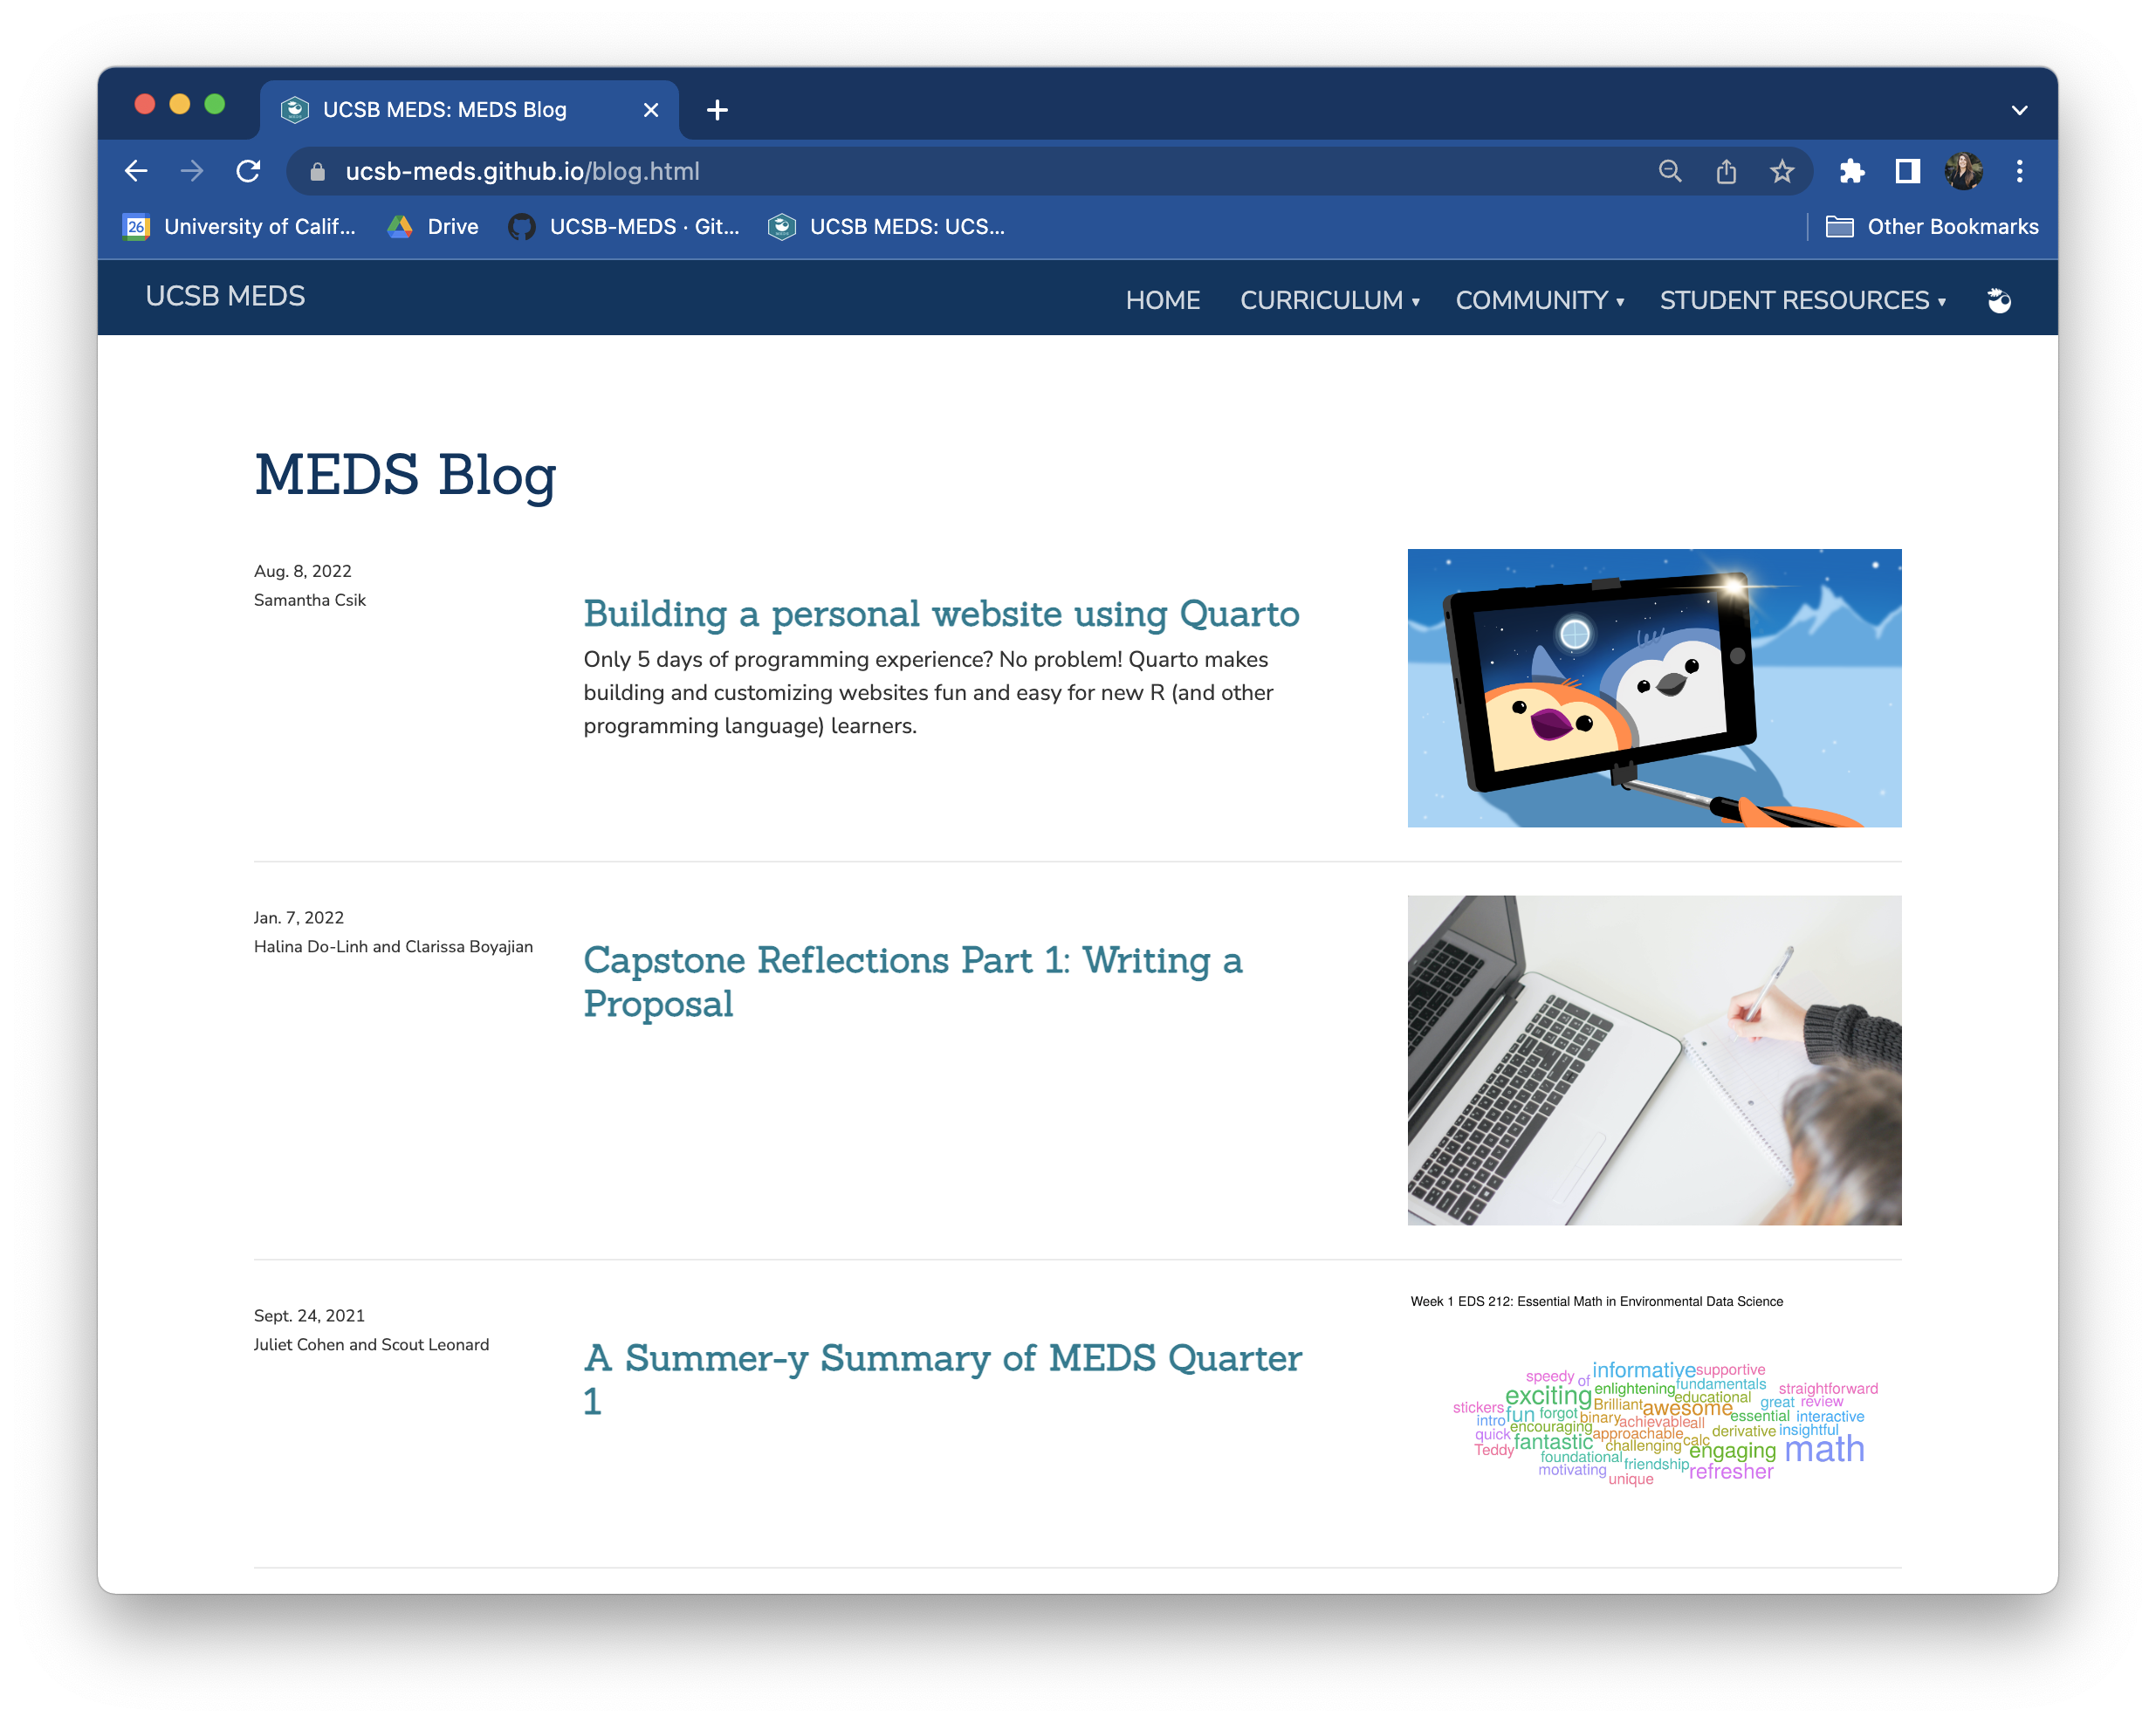
Three built-in listing page styles
Step 5: Add your listing page to the navbar
Update _quarto.yml to include posts.qmd just like any other page:
_quarto.yml
website:navbar:title: myWebsiteTitleright:-href: index.qmdtext: Home- about.qmd- posts.qmd # add your listing page here
Step 6: Preview your site
Run quarto preview in your terminal to see your changes:
quarto preview
Part II
Creating your first blog post
Step 1: Create a subdirectory inside posts/
Each post gets its own folder inside posts/ using this naming convention:
YYYY-MM-DD-short-post-description
Step 2: Create index.qmd inside your subdirectory
Name your post file index.qmd — this keeps your URLs clean:
The index.qmd approach creates shorter, cleaner URLs that are easier to remember and share
Step 3: Configure your blog post YAML
posts/2022-10-24-my-post/index.qmd
---title:"My first blog post"description:"A short description that appears on the listing page"author:-name: Your Nameurl: https://yoursite.com/affiliation: Master of Environmental Data Science Program @ The Bren Schoolaffiliation-url: https://ucsb-meds.github.io/date: 10-24-2022categories:[Quarto, R, MEDS]citation:url: https://yoursite.com/posts/2022-10-24-my-post/image: preview-image.pngdraft:false---Here is where your blog post content begins...
Key YAML fields
Field
Purpose
title & description
Both appear on your listing page
author
Can include name, url, orcid, affiliation
date
Post date (format: MM-DD-YYYY)
categories
Self-defined tags — enables filtering on listing page
citation
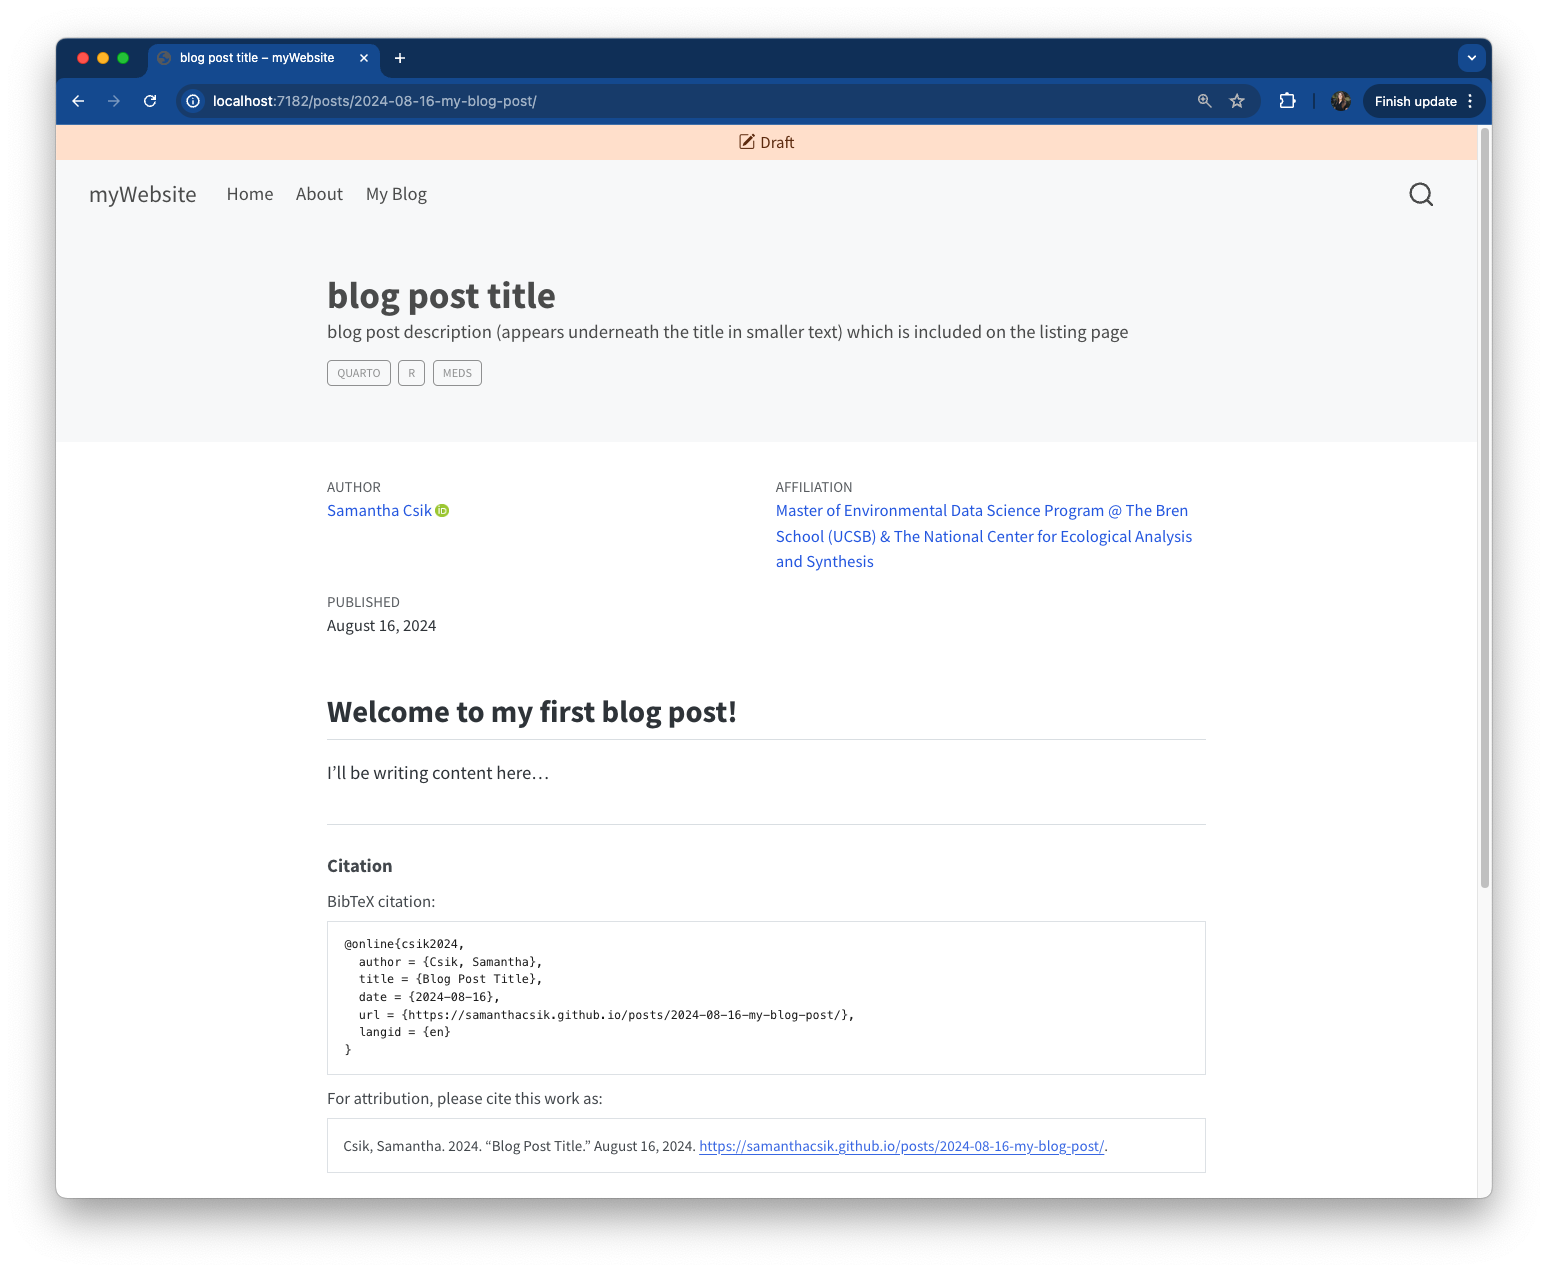
Auto-generates a BibTeX citation at the bottom of your post
image
Preview image shown on listing page — file must live in the same folder
draft: true
Hides from listing page while you work — set to false to publish
Step 4: Simplify with _metadata.yml
Move repeated author info to _metadata.yml so you only write it once:
posts/_metadata.yml
freeze: autotitle-block-banner:true# author info applied to all posts ----author:-name: Your Nameurl: https://yoursite.com/affiliation: MEDS @ The Bren Schoolaffiliation-url: https://ucsb-meds.github.io/
posts/2022-10-24-my-post/index.qmd
---title:"My first blog post"description:"A short description"date: 10-24-2022categories:[Quarto, R, MEDS]citation:url: https://yoursite.com/posts/ 2022-10-24-my-post/image: preview-image.pngdraft:false---
Your first post on the listing page
Advanced Features
Footnotes, citations, and more
Adding footnotes
Method 1 — Referenced:
I am going to insert a footnote here[^1].[^1]: Here is the associated footnote text.
Method 2 — Inline:
I am going to insert an inline footnote here^[Here is my inline footnote].
All footnotes are automatically collected in a “Footnotes” section at the bottom of your post.
Adding citations
Step 1: Create a references.bib file inside your post folder
Step 2: Add bibliography to your post YAML:
bibliography: references.bib
Step 3: Add references in BibTeX format to your .bib file:
@online{csik2021,author = {Samantha Csik},title = {Why Create Presentation Slides about Blogging When You Can Just Blog about It?},date = {2021-09-24},url = {https://samanthacsik.github.io/posts/2021-09-21-distill-blogs/},langid = {en}}
Step 4: Cite in your text using [@key]:
This was explored in previous work [@csik2021].
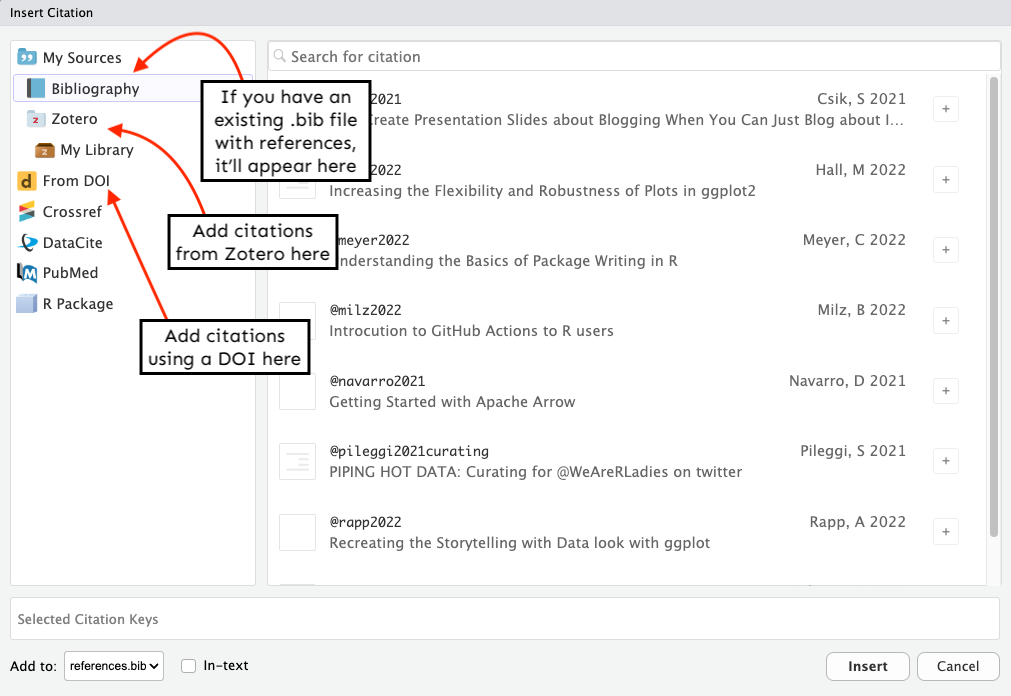
The easier way: Visual Editor citations
You’re not limited to one blog
Repeat Part I (Steps 1–6) to add additional listing pages to your site: