EDS 430: Part 1.2

Setting up a Shiny app


Play Setting up your Shiny app

Let’s start with some standard operating procedures – things you’ll do each time you begin a new shiny app.

Create your GitHub repo


Let’s start by creating a GitHub repo to house our soon-to-be app(s), then we’ll clone our repo to our computer. I’m using RStudio to clone my repo in the example below, but you can also do this via the command line using git clone <repo-url>.

A gif demonstrating how to set up a GitHub repo and how to clone that repo to your computer. Start by clicking on the 'Repositories' tab from your GitHub profile, then click the green 'New' button. Give your repo a name, check the box next to 'Add a README file', Add a .gitigore by choosing 'R' from the drop down menu, then click the green 'Create repository' button. From your repo landing page, click the green 'Code' button, then copy the URL to your clipboard. In RStudio, select 'New Project' from the top left 'Project' button, select 'Version Control', then 'Git', and paste your URL in the 'Repository URL field'. Your repo name should be auto completed in the 'Project directory name:' field, but if not, press the 'Tab' key. Click 'Create Project' to complete the process.

Shiny app repo structure


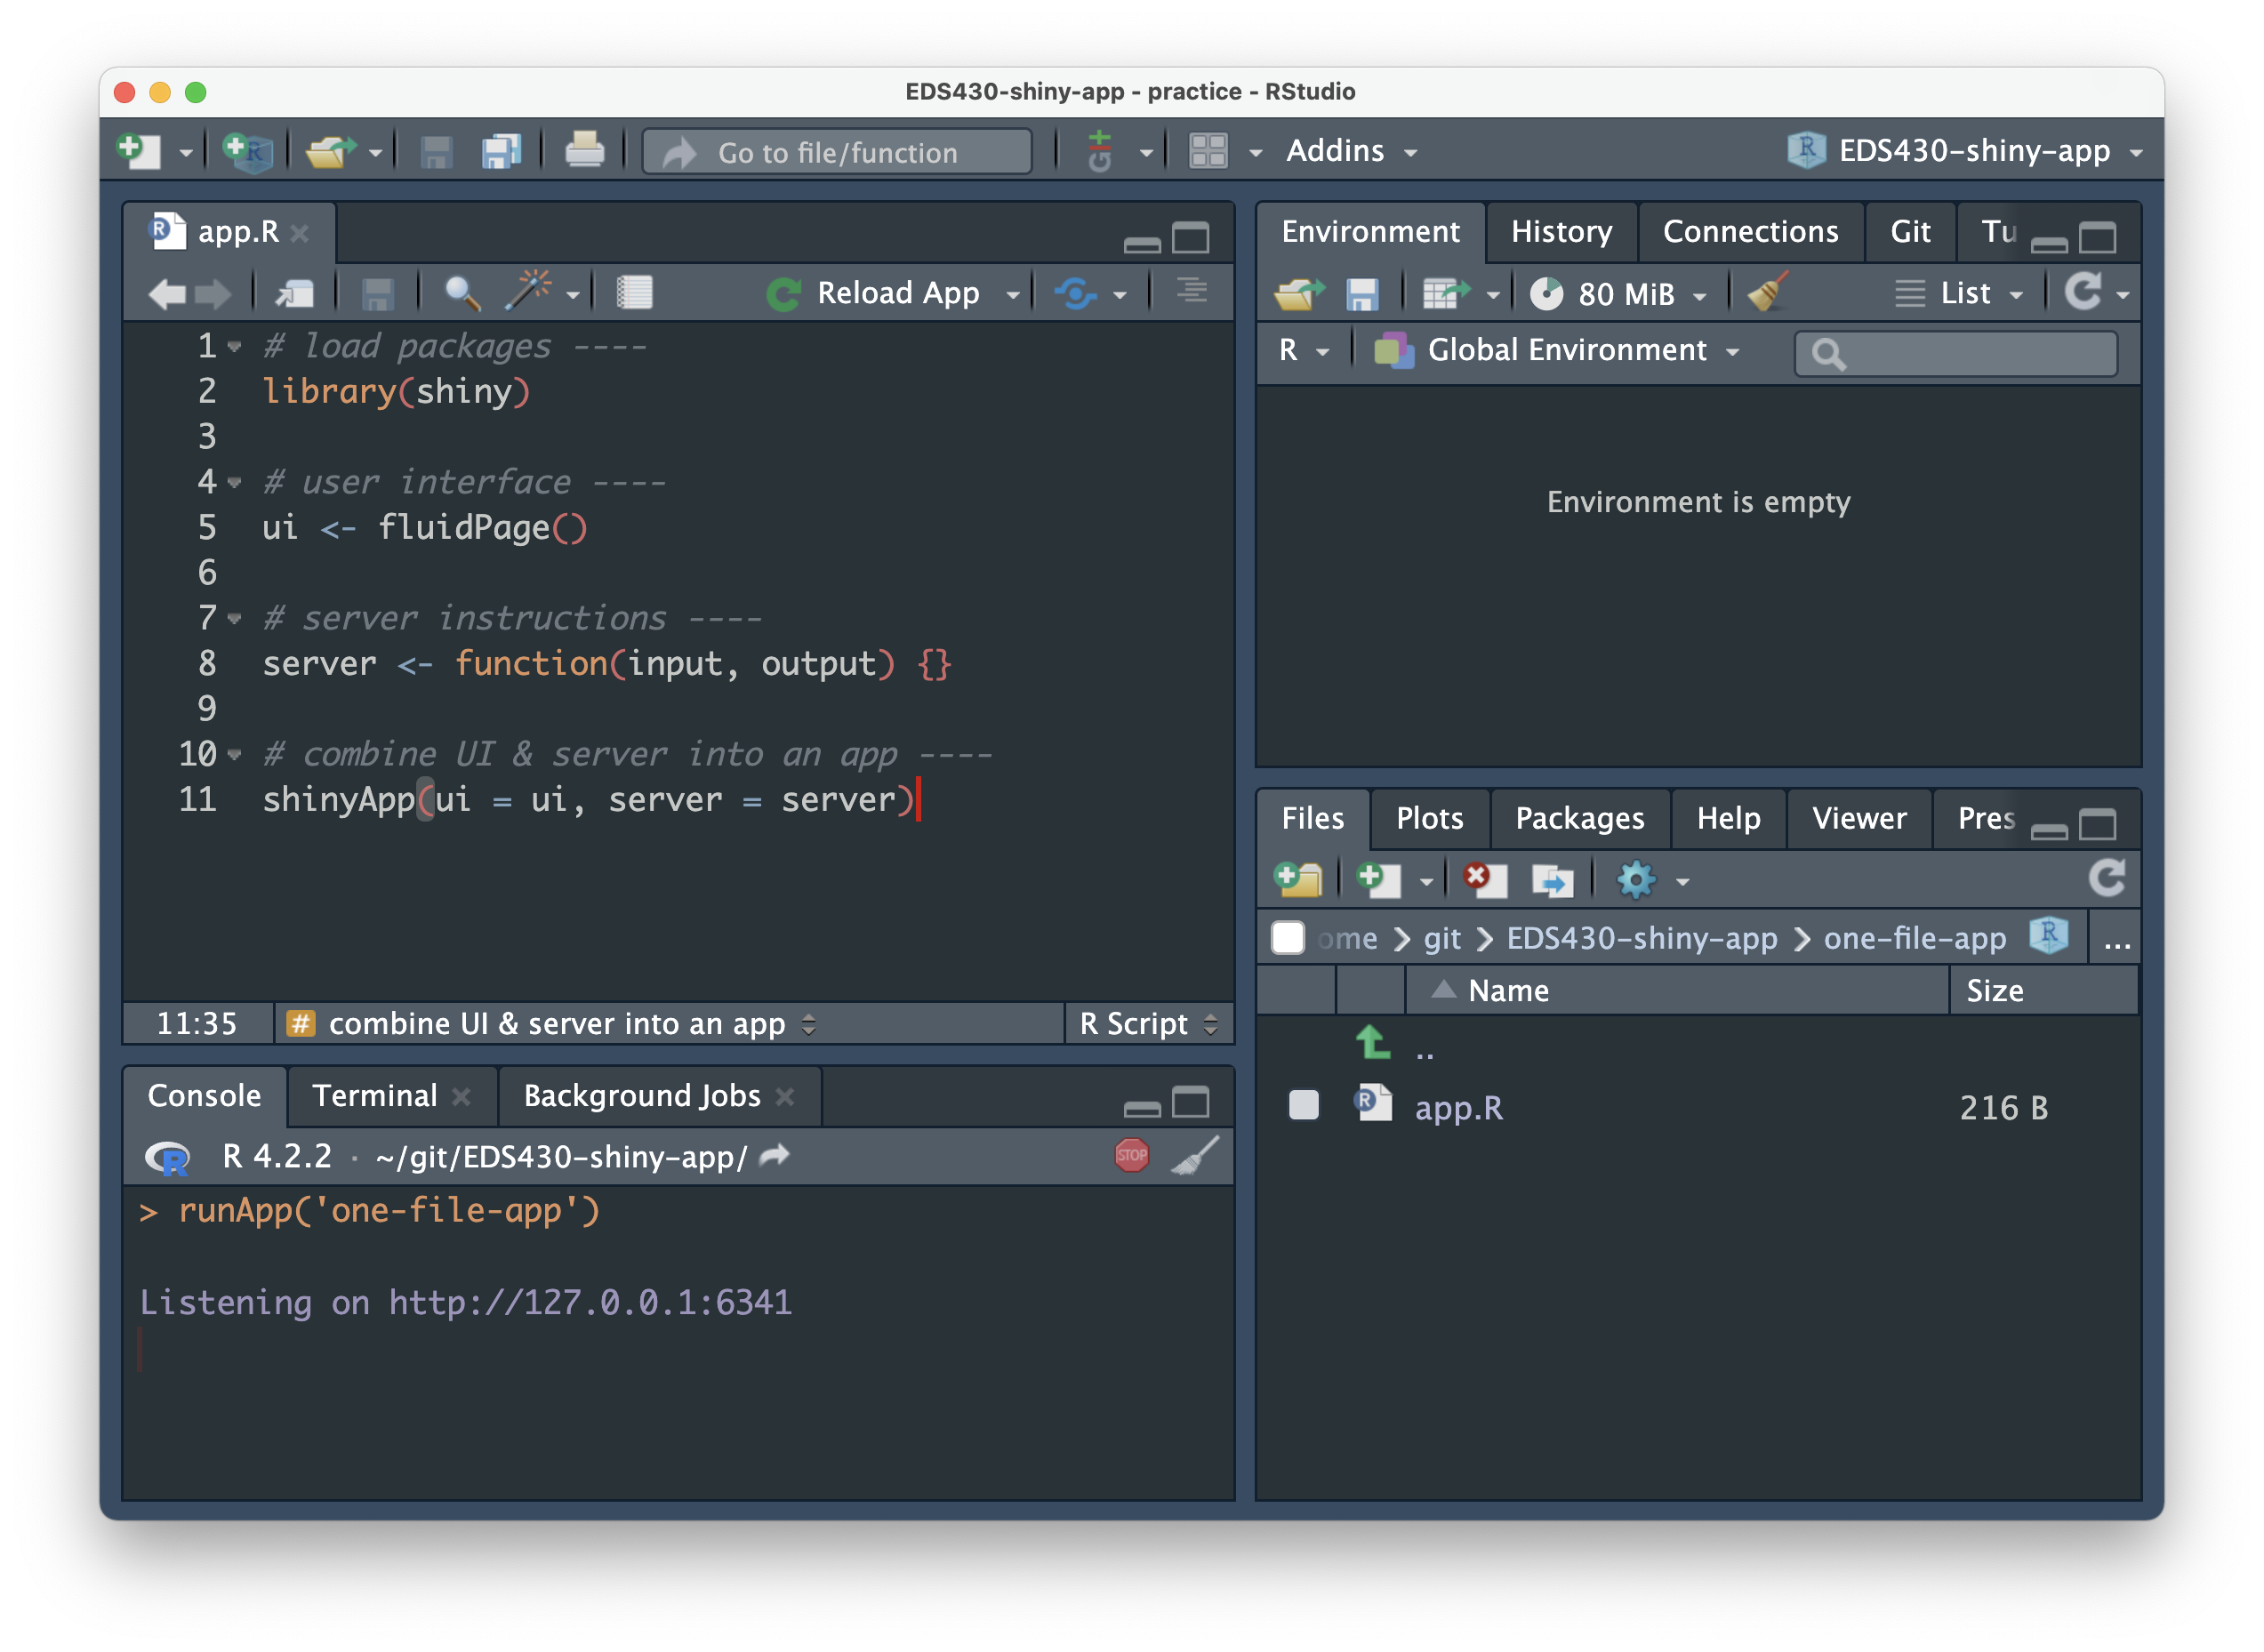
Not much is required to make a functional app (which is awesome) – for a basic app, you really just need an app.R file where you’ll write the code for your UI and server. To stay organized, we’ll place app.R into a subdirectory (e.g. /myapp), which will also house any dependencies (e.g. other scripts/files/etc.) used by app.R.

A visual representation of a basic shiny app repository file/folder structure.

All Shiny apps begin (in almost) the same way


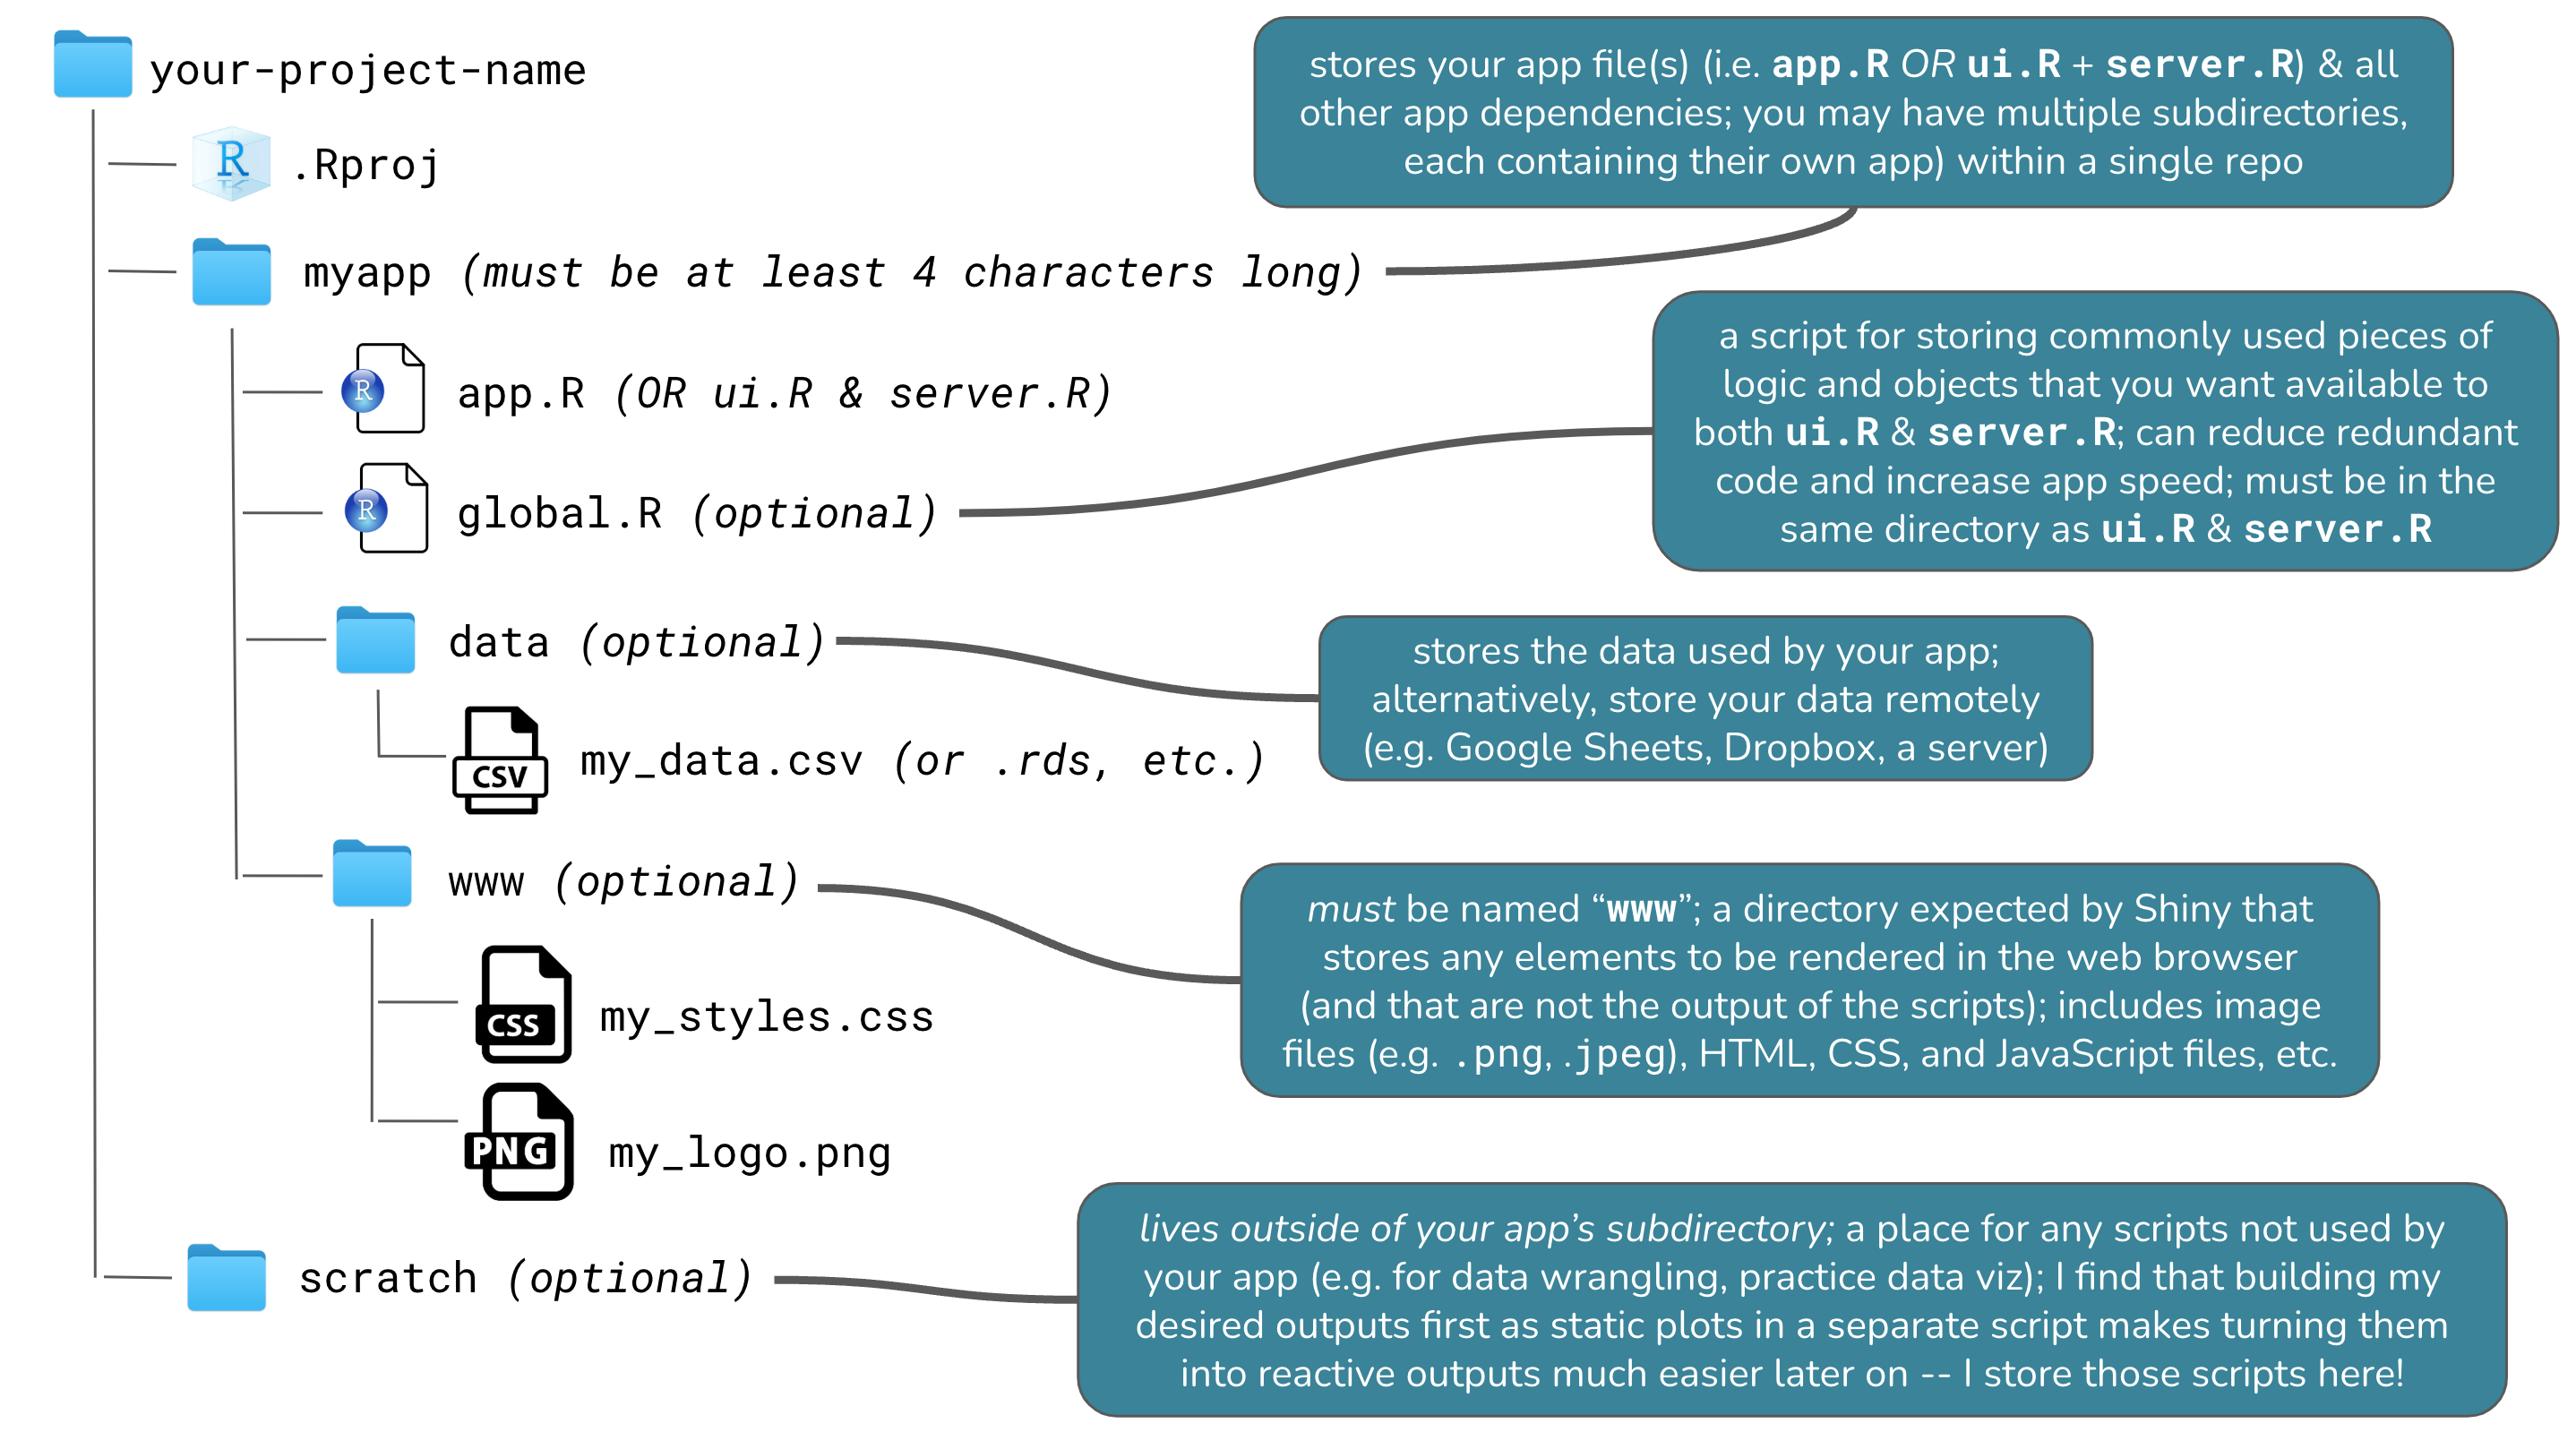
You have the option of creating either a single-file app or two-file app, and they look nearly the same (we’ll see both formats in the coming slides).

Shiny apps can be built using a single app.R file, or using ui.R plus server.R, and most often a global.R in conjunction.

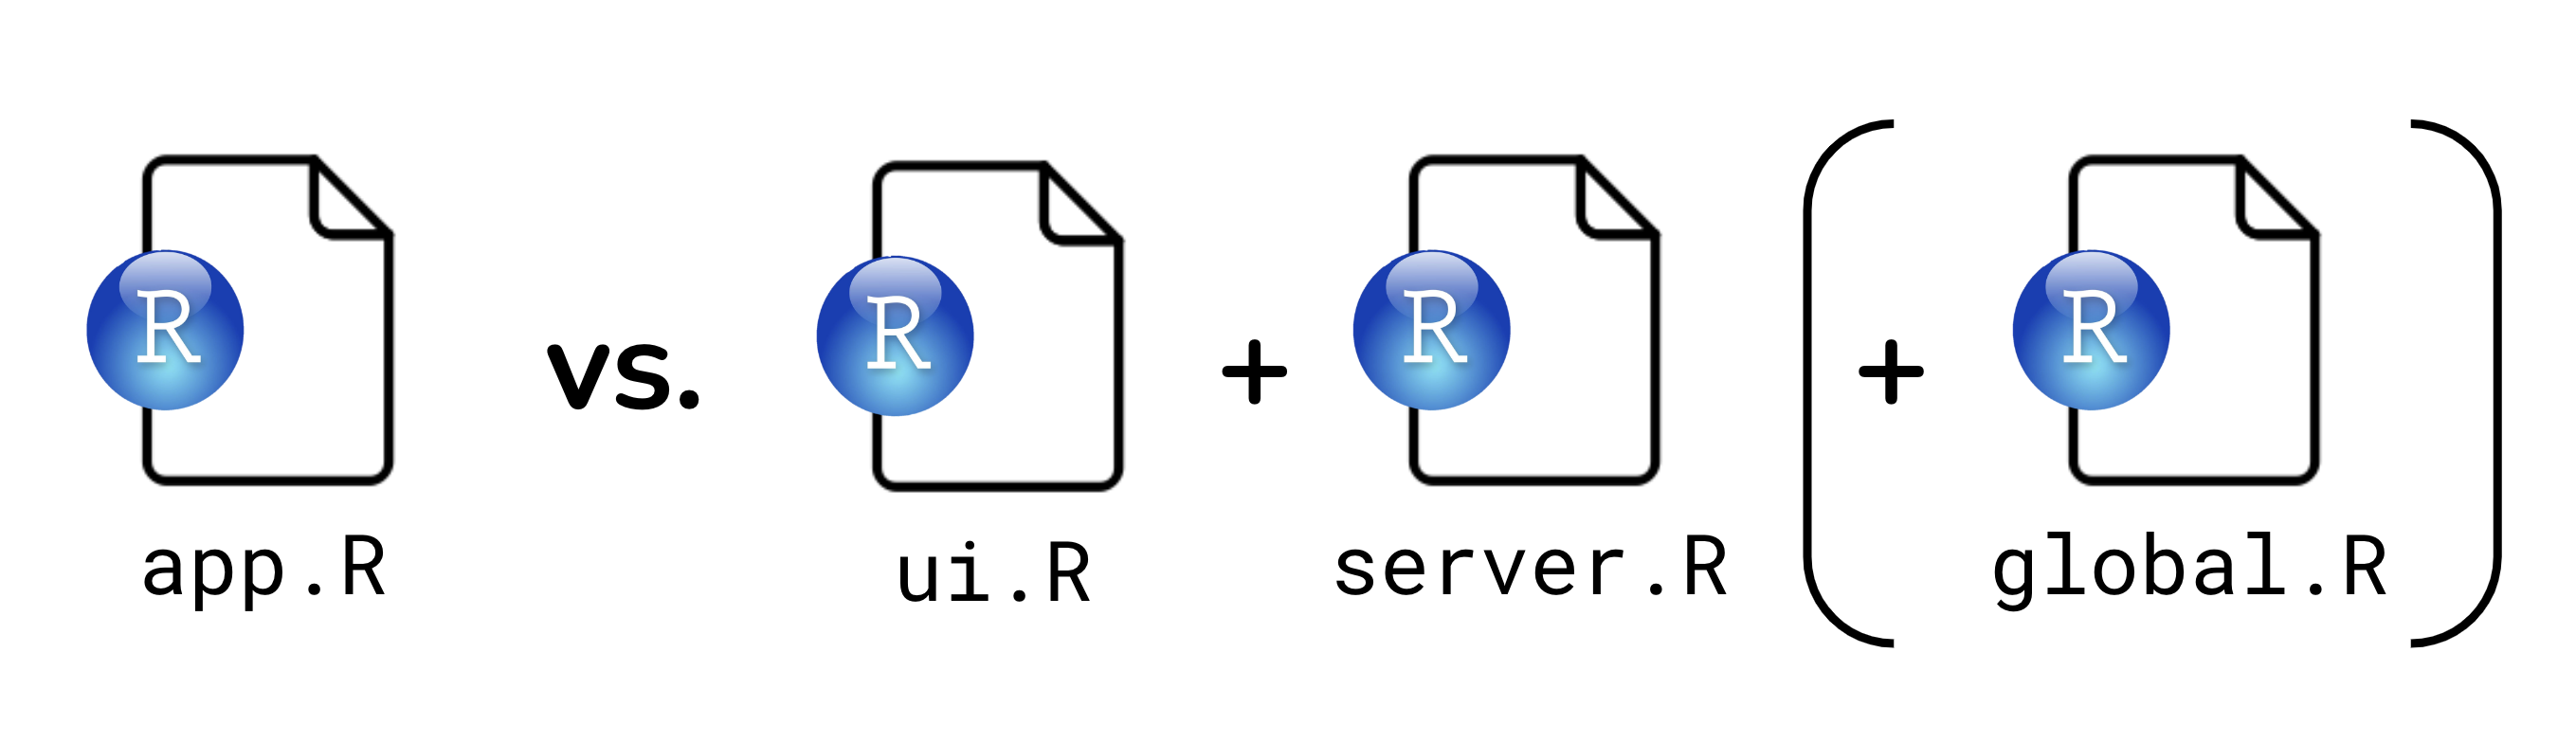
Why two options? Before v0.10.2, Shiny apps needed to be split into two separate files, ui.R and server.R, that defined the UI and server components, respectively. With v0.10.2+, users can create a single-file app, app.R, which contains both the UI and server components together. While it largely comes down to personal preference, a single-file format is best for smaller apps or when creating a reprex, while the two-file format is beneficial when writing large, complex apps where breaking apart code can make things a bit more navigable / maintainable.

Create a single-file Shiny app


You can create a single-file app using RStudio’s built-in Shiny app template (e.g. File > New Project… > New Directory > Shiny Application), but it’s just as easy to create it from scratch (and you’ll memorize the structure faster!). Let’s do that now.

(1) In your project repo, create a subdirectory to house your app – I’m calling mine, single-file-app.

(2) Create a new R script inside single-file-app/ and name it app.R – you must name your script app.R. Copy / type the following code into app.R, or use the shinyapp snippet to automatically generate a shiny app template.

~/single-file-app/app.R
# load packages ----
library(shiny)

# user interface ----
ui <- fluidPage()

# server instructions ----
server <- function(input, output) {}

# combine UI & server into an app ----
shinyApp(ui = ui, server = server)

Tip: Use code sections (denoted by # some text ----) to make navigating different sections of your app code a bit easier. Code sections will appear in your document outline (find the button at the top right corner of the script/editor panel).

Run your app


Once you have saved your app.R file, the “Run” code button should turn into a “Run App” button that looks like: A green, right facing triangular arrow next to the words 'Run App'. Click that button to run your app (alternatively, run runApp("directory-name") in your console – for me, that looks like, runApp("single-file-app"))!
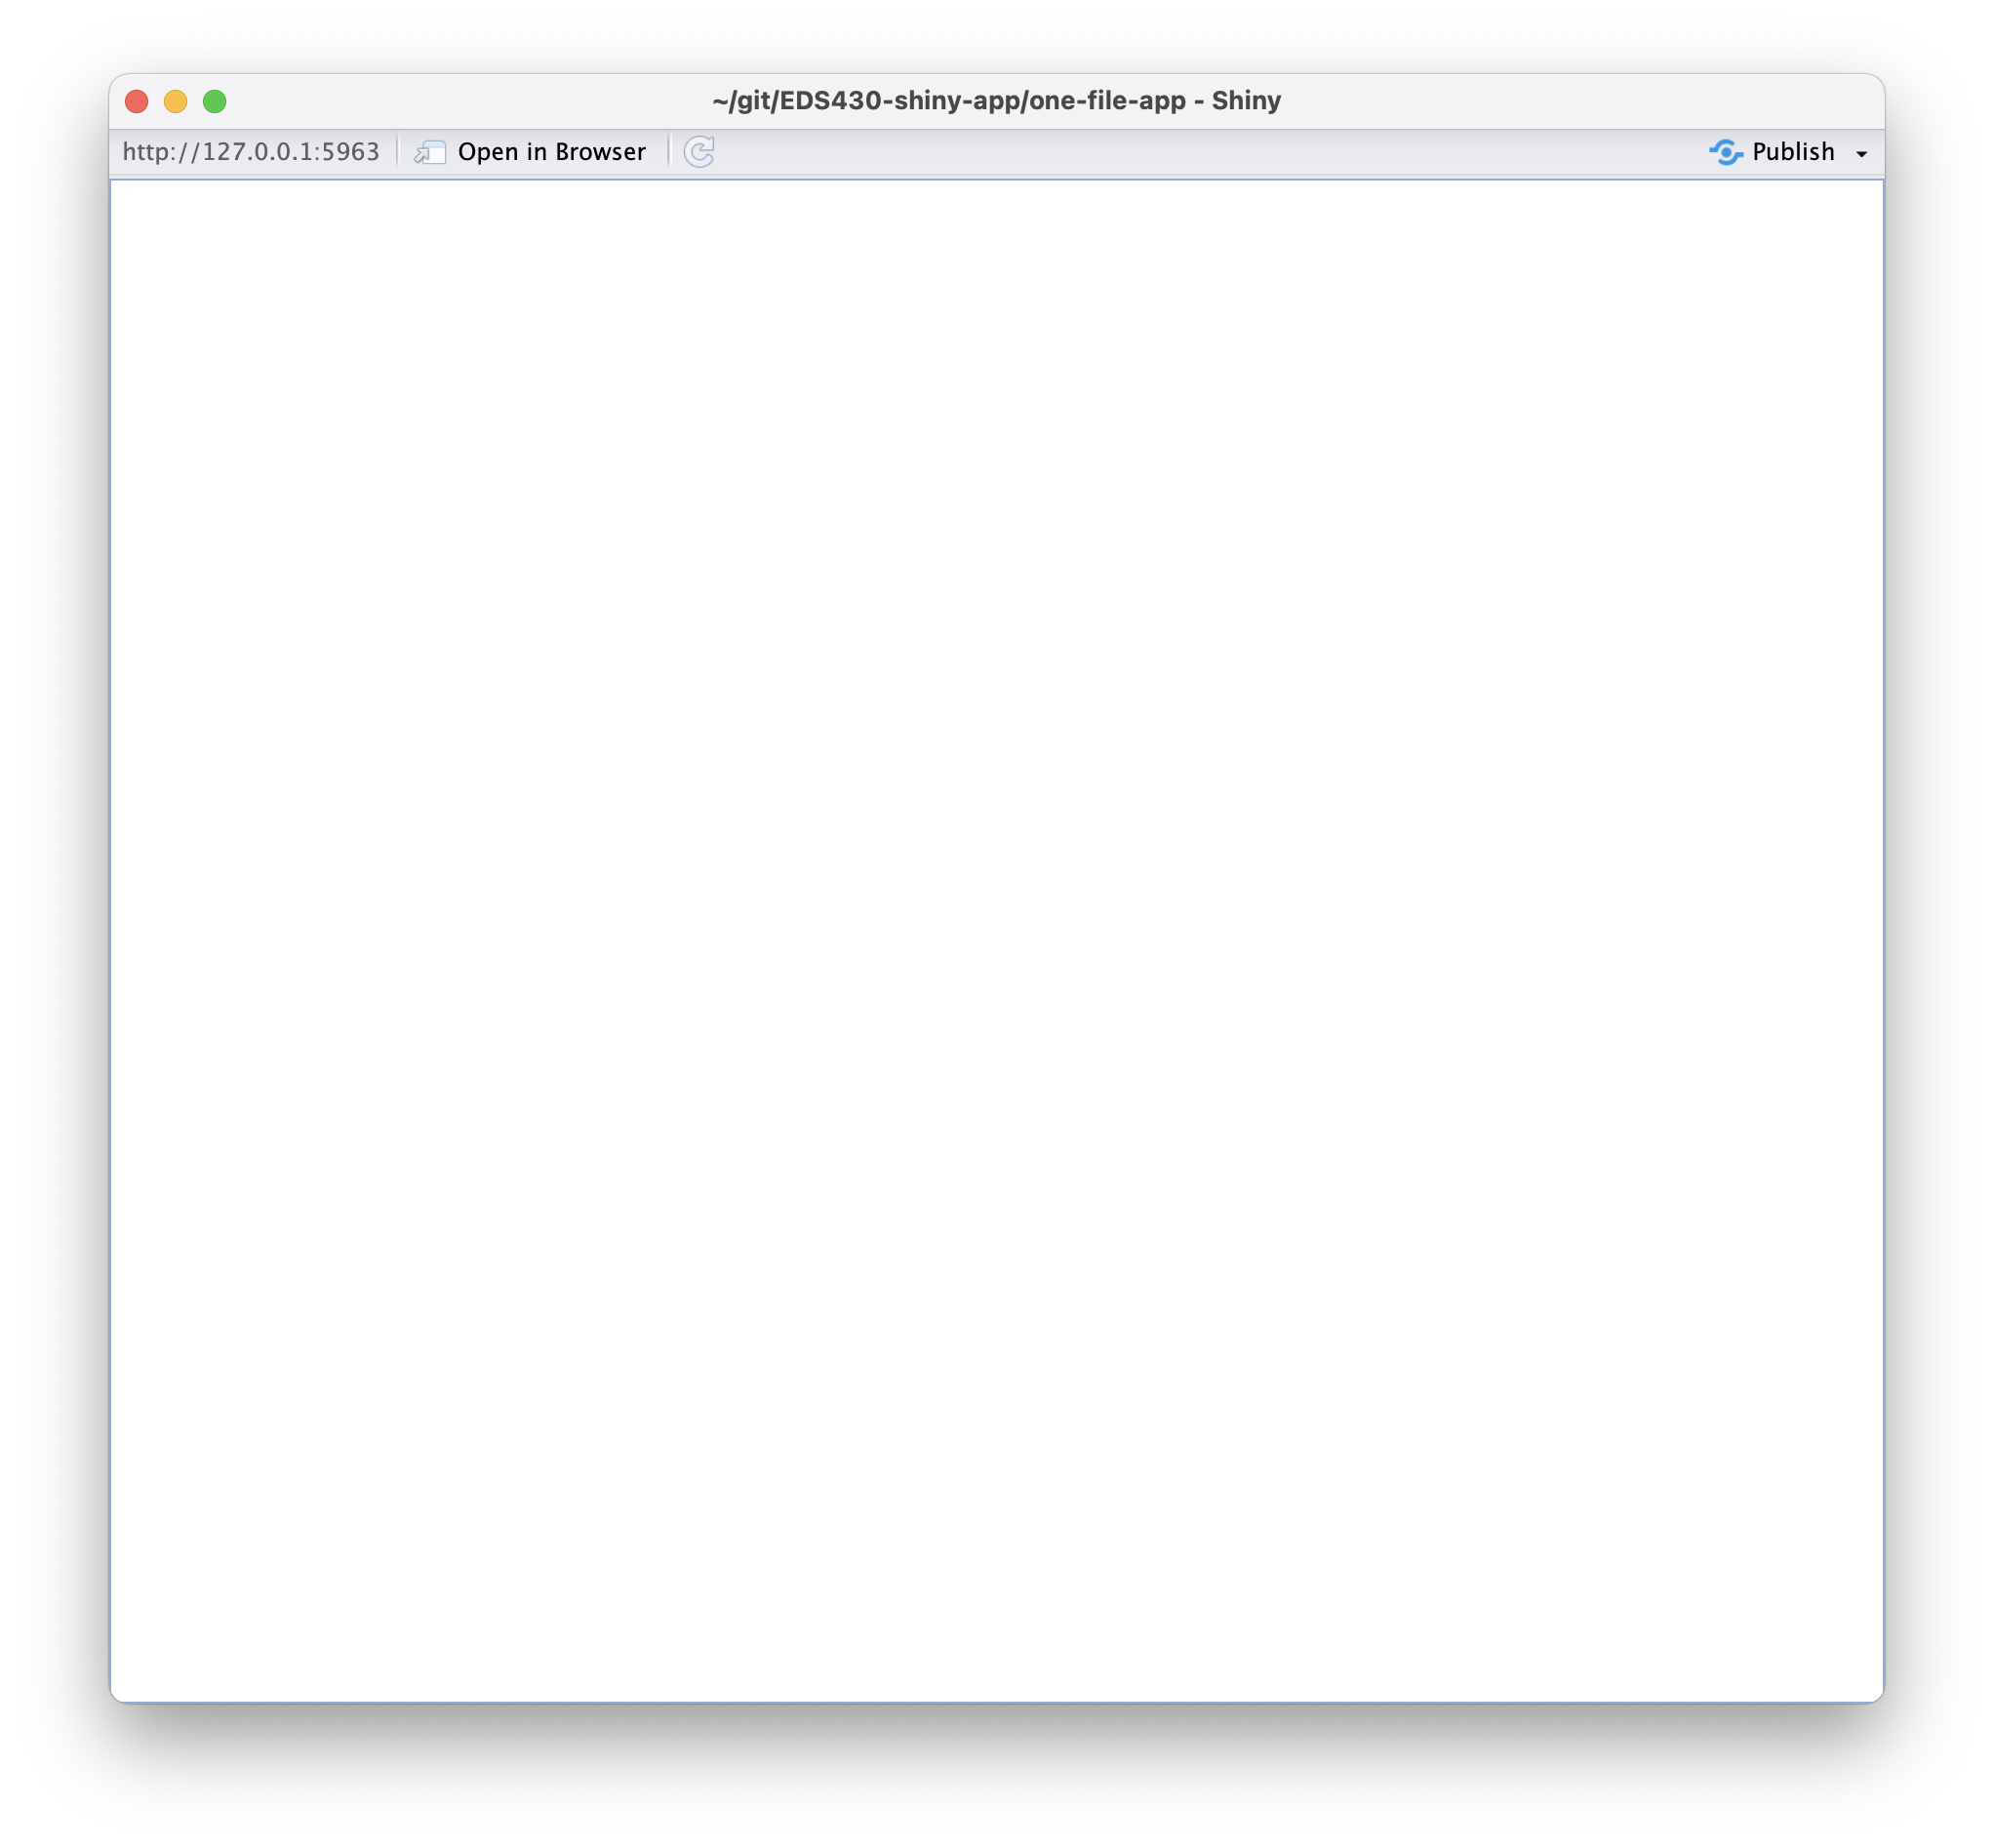
You won’t see much yet, as we have only built a blank app (but a functioning app, nonetheless!). In your RStudio console, you should see something like: Listening on http://127.0.0.1:XXXX, which is the URL where your app can be found. 127.0.0.1 is a standard address that means “this computer,” and the last four digits represent a randomly assigned port number. You can click the “Open in Browser” button, A button found on the top left-hand side of the RStudio viewer window that says 'Open in Browser' next to a small browser window icon with an arrow pointing up and to the right., to see how your app will appear when viewed in your web browser.

You should also notice a red stop sign, A red hexagon with the word 'STOP' printed in white across the center., appear in the top right corner of your console indicating that R is busy – this is because your R session is currently acting as your Shiny app server and listening for any user interaction with your app. Because of this, you won’t be able to run any commands in the console until you quit your app. Do so by pressing the stop button.

The RStudio viewer showing a running app consisting of only a blank white screen since no elements have been added yet.

RStudio running our blank app. In the console, we see the text 'Listening on http://127.0.0.1:6341' and a red stop sign indicating that RStudio is busy.

Create a two-file Shiny app


In practice, you will likely find yourself opting for the the two-file format – code expands quickly, even when building relatively small apps. This two-file approach (well, three if you use a global.R file, which is encouraged) will help to keep your code a bit more manageable.

(1) In your project repo’s root directory, create a new subdirectory to house your app – I’m calling mine, two-file-app.

(2) Create two new R scripts inside two-file-app/ named ui.R and server.R – you must name your scripts ui.R and server.R. Copy the following code into the respective files. Note: When splitting your UI and server into separate files, you do not need to include the shinyApp(ui = ui, server = server) line of code (as required in your single-file app).

~/two-file-app/ui.R
# user interface ----
ui <- fluidPage()
~/two-file-app/server.R
# server instructions ----
server <- function(input, output) {}

(3) Lastly, let’s create a global.R file within two-file-app/ and add dependencies (right now, that’s just loading the shiny package). Run your app as we did earlier.

~/two-file-app/global.R
# load libraries ----
library(shiny)

End part 1.2

Up next: building out a single-file app

05:00